Worldwide Sites
You have been detected as being from . Where applicable, you can see country-specific product information, offers, and pricing.
Keyboard ALT + g to toggle grid overlay

Render magic, whatever your toolset
Render high-quality images right within your tool of choice.
What is Arnold?
Arnold is an advanced Monte Carlo ray tracing renderer, built to stand up to the demands of VFX and animation production. It offers a powerful, yet easy-to-use rendering experience that delivers beautiful and predictable results, and lets you focus on being creative, rather than spending hours going through settings.
Arnold is an advanced Monte Carlo ray tracing renderer, built to stand up to the demands of VFX and animation production.
Why render with Arnold?
Seamless integration with top 3D DCC tools
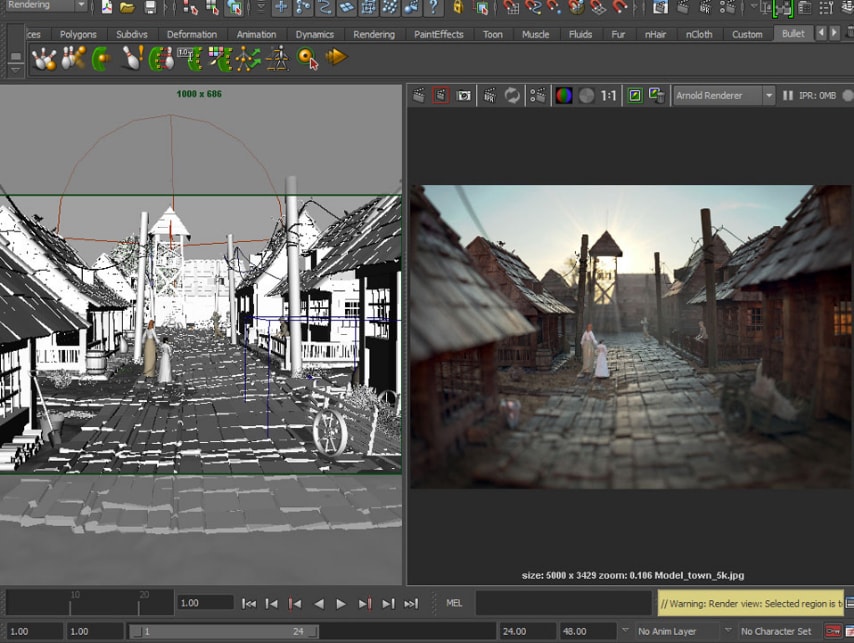
Supported plug-ins for Maya, Houdini, Cinema 4D, 3ds Max, and Katana offer an artist-friendly UI. Simple and intuitive controls mean fewer clicks to get the high-quality look you’re after, whether photoreal or stylized.
Plug-ins for Maya, Houdini, Cinema 4D, 3ds Max, and Katana offer an artist-friendly UI. Simple, intuitive controls mean fewer clicks to get the high-quality look you’re after, whether photoreal or stylized.
Stability you can count on
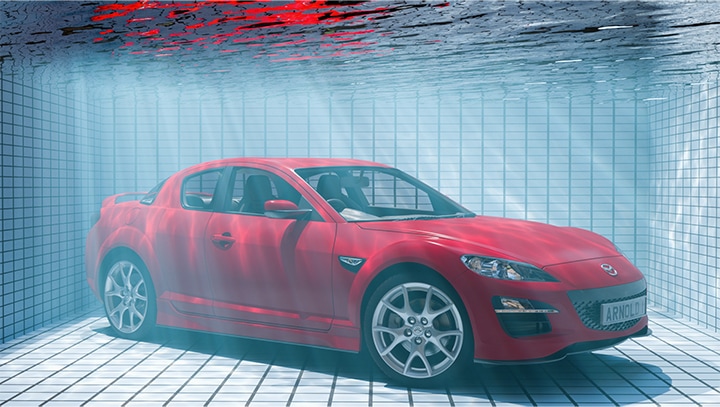
Arnold thrives on heavy data sets and handles your most complex work with ease, so you can render with confidence.
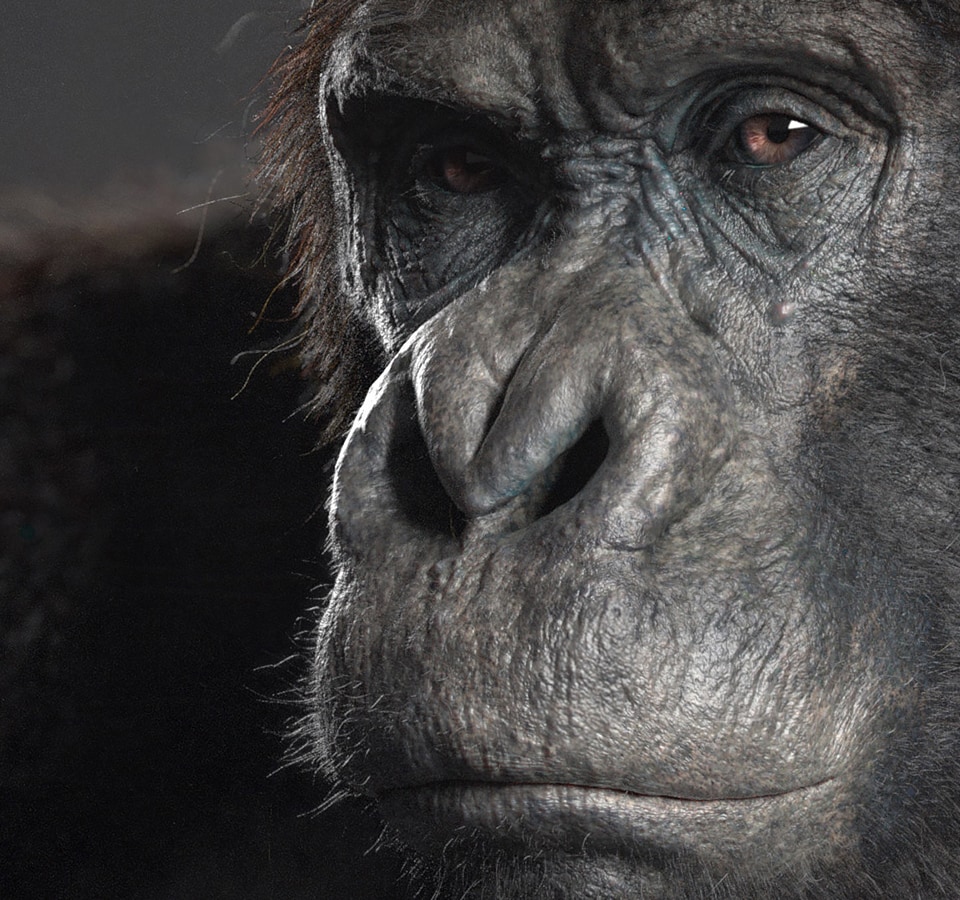
Image courtesy of Björn Arvidsson
Maximum flexibility
Use GPU rendering to speed up interactive look development and lighting. Choose optimized CPU rendering with lower cost hardware and the option to reliably scale to the cloud.
Use GPU rendering to speed up interactive look development and lighting, and optimized CPU rendering to reliably scale to the cloud.
Open and extensible architecture
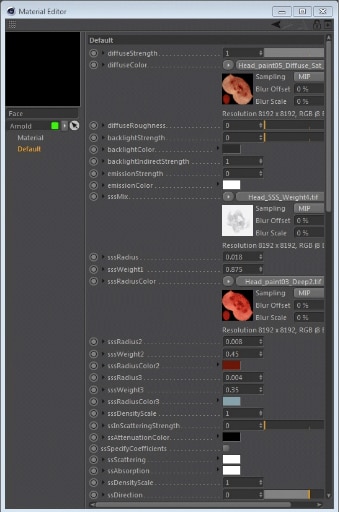
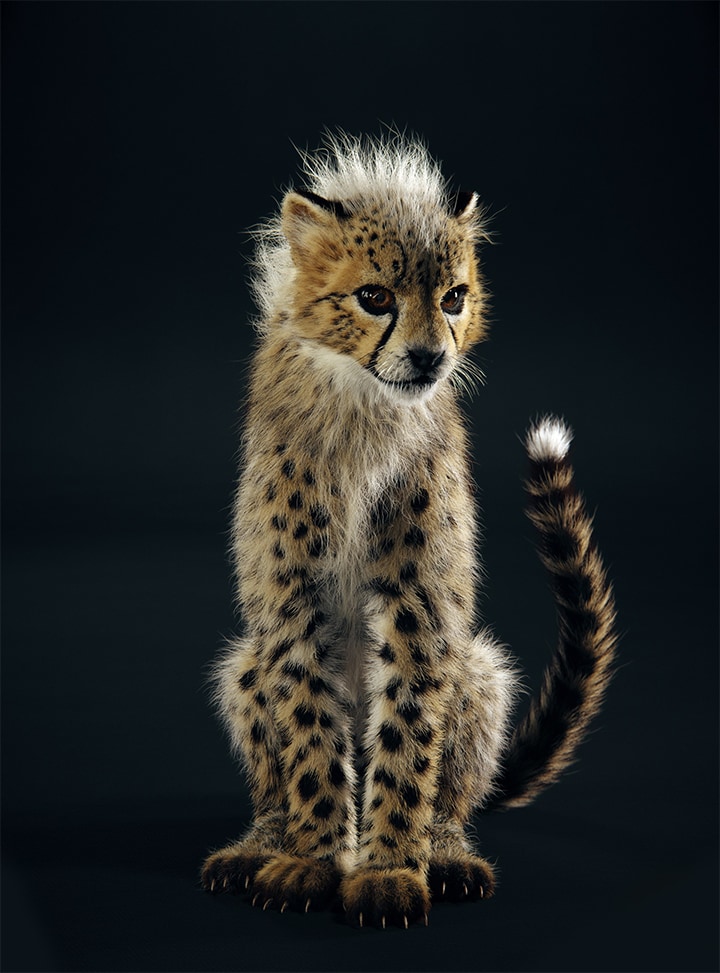
Get the scalability of an open architecture that makes it easy to integrate Arnold into your pipeline and adapt to project needs. Create custom shaders, cameras, light filters and output drivers.
An open architecture provides scalability and makes it easy to integrate Arnold into your pipeline. Create custom shaders, cameras, light filters, and output drivers.
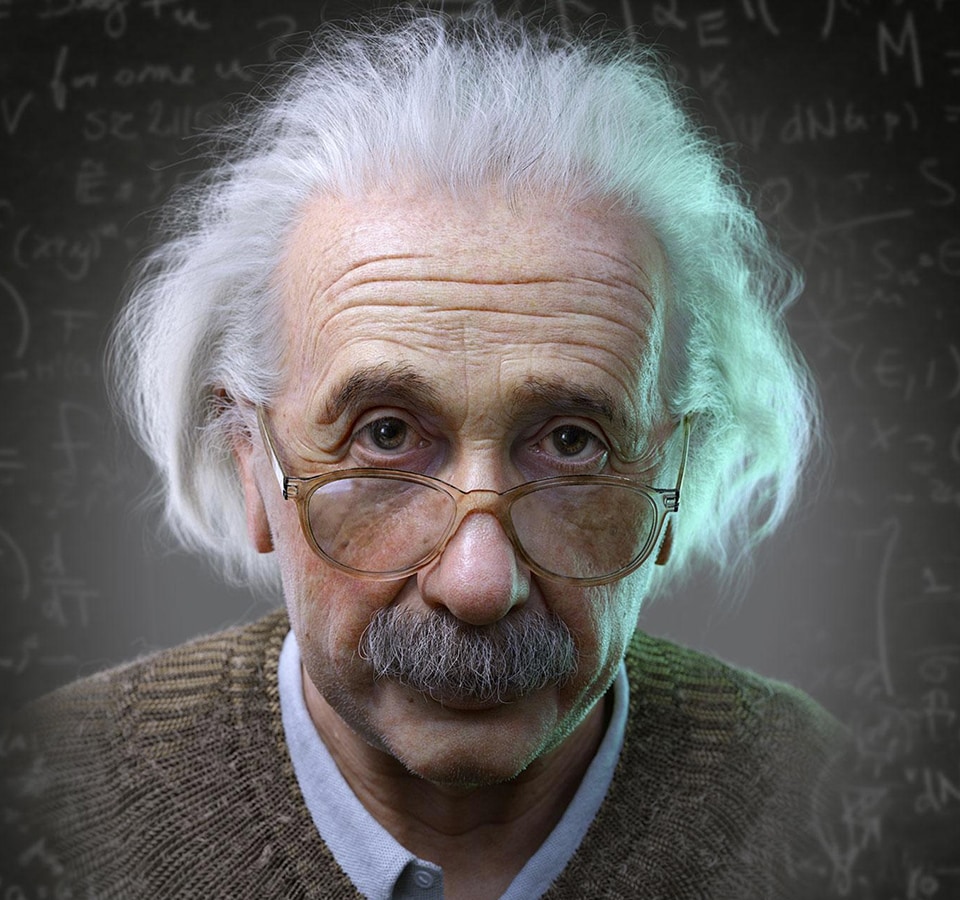
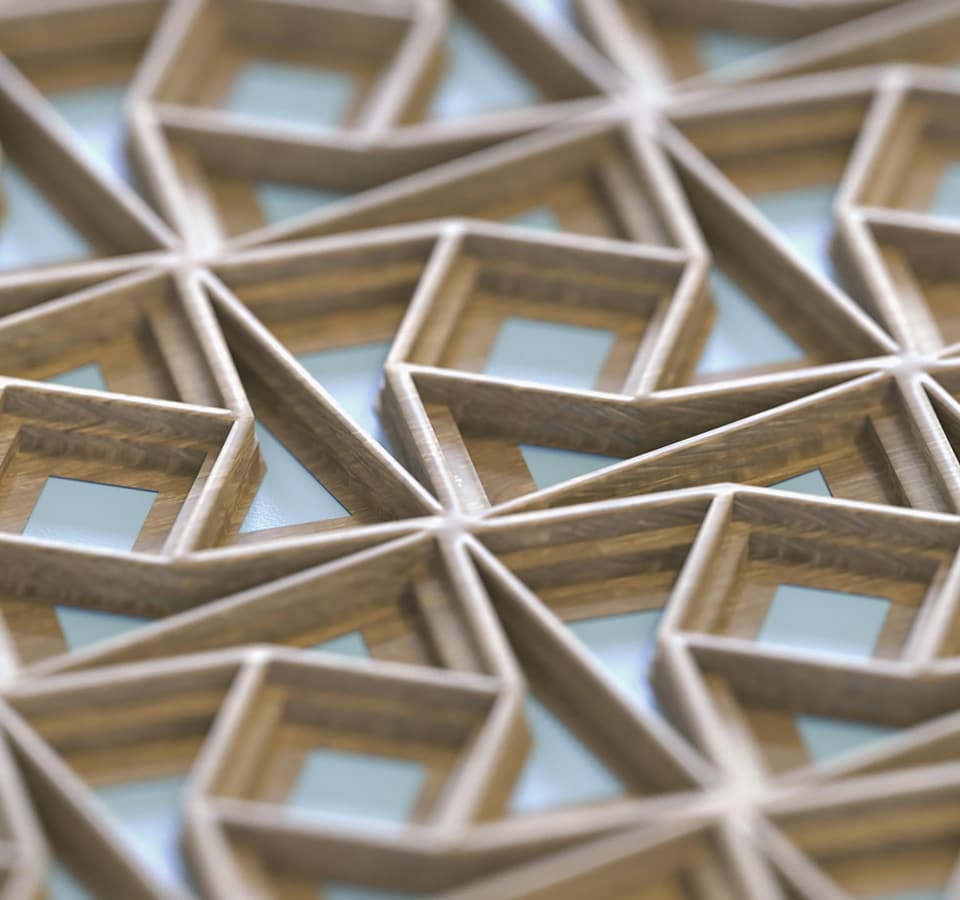
Image courtesy of Lotus Art
Features to get the job done right
A powerful set of tools help you to save time and produce high-quality images efficiently:
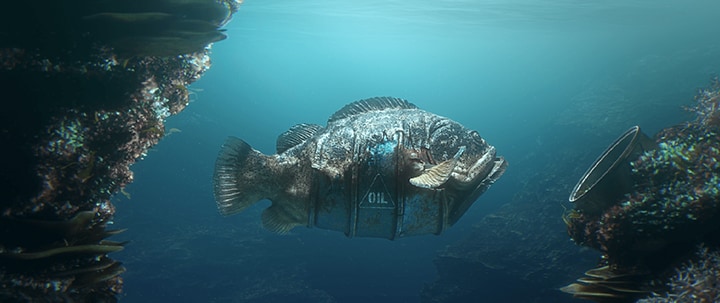
- Standard surface shader to produce a wide range of materials and looks
- Advanced volumetric rendering
- Adaptive sampling
- Alembic procedural
- OSL support
- Operator framework enables support for open standard framework such as MaterialX
Powerful tools help you achieve the highest quality images, efficiently:
- Standard surface shader
- Advanced volumetric rendering
- Adaptive sampling
- Alembic procedural
- OSL support
- and more!
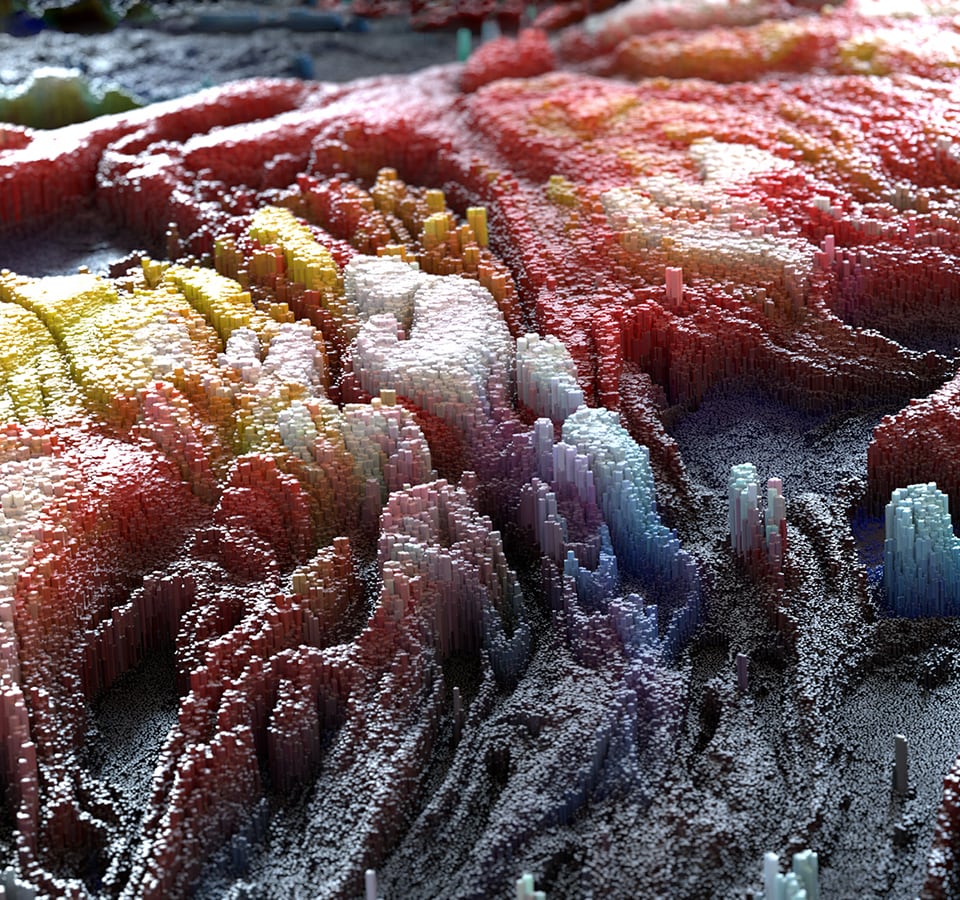
Image courtesy of Lee Griggs
Under the hood
Standard Volume shader with Arnold and Maya
-
Under the hood
Standard Volume shader with Arnold and Maya
Lee Griggs
In-house artist at Autodesk
Some CG techniques are obvious, like rendering a polygonal mesh with a traditional surface shader. But Lee Griggs, technical artist and industry expert, doesn’t settle for obvious looks. He uses CG tools – and Arnold in particular – to do things we’ve never seen before. Click through to learn more about the tools and techniques behind Lee’s innovative workflows and download your free Standard Volume shader file.
Some CG techniques are obvious, but Lee Griggs, technical artist and industry expert, doesn’t settle for obvious looks. He uses CG tools and Arnold to do things we’ve never seen before. Click through to learn more about the techniques behind Lee’s innovative workflows.
-
Under the hood / Step 01
I want to let other artists know about Volume Displacement and have an opportunity to experiment with its many creative uses, which even I am only just beginning to explore. You can use it in all the supported 3D DCC tools including Maya, 3ds Max, Cinema4D, Houdini and Katana.
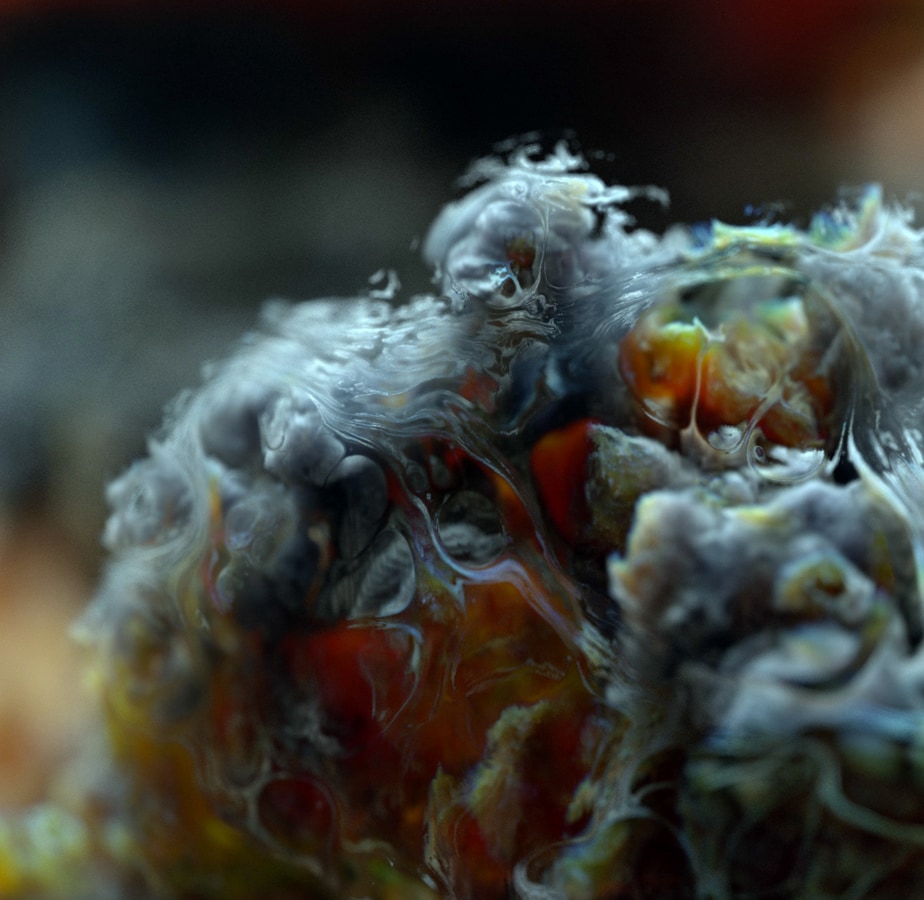
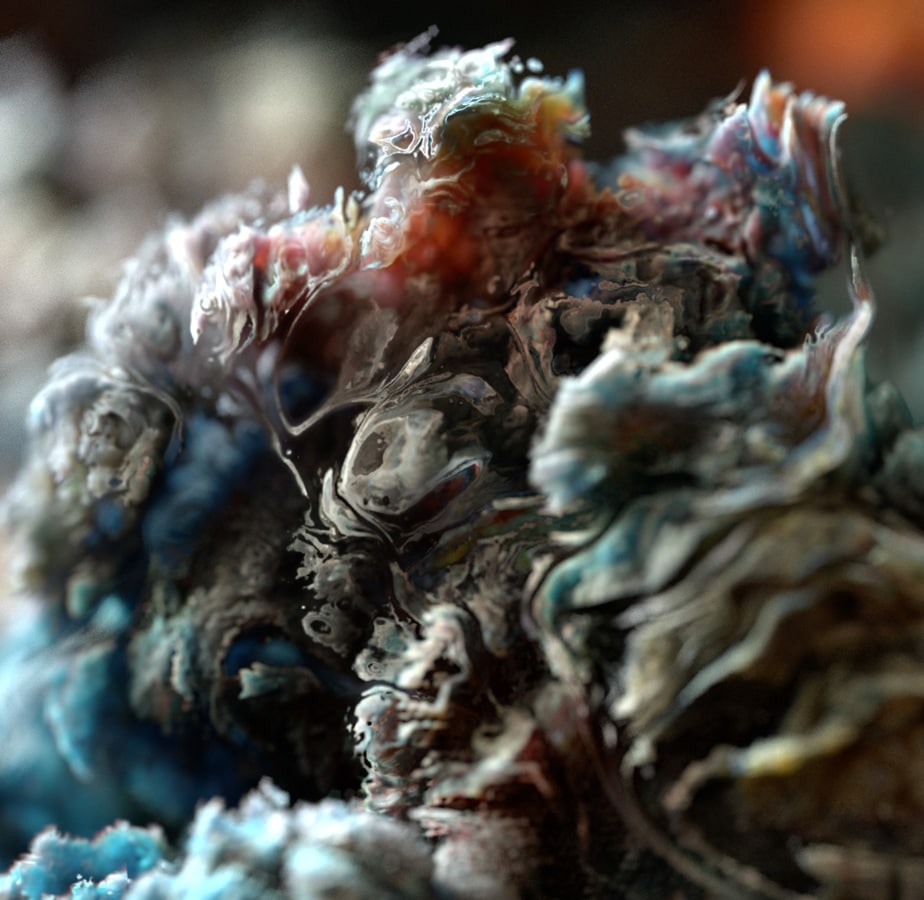
I’d like to walk you through how I created this image using the Volume Displacement technique; with Maya and Arnold. The image started as a VDB file that I had previously created. I started by cranking the density until the image looked like geometry. The effect gives the volume an abstract yet realistic look.
I’d like to walk through how I created this image using the Volume Displacement technique; with Maya and Arnold. The image started as a VDB file that I had previously created. I started by cranking the density until the image looked like geometry. The effect gives the volume an abstract yet realistic look.
-
Under the hood / Step 02
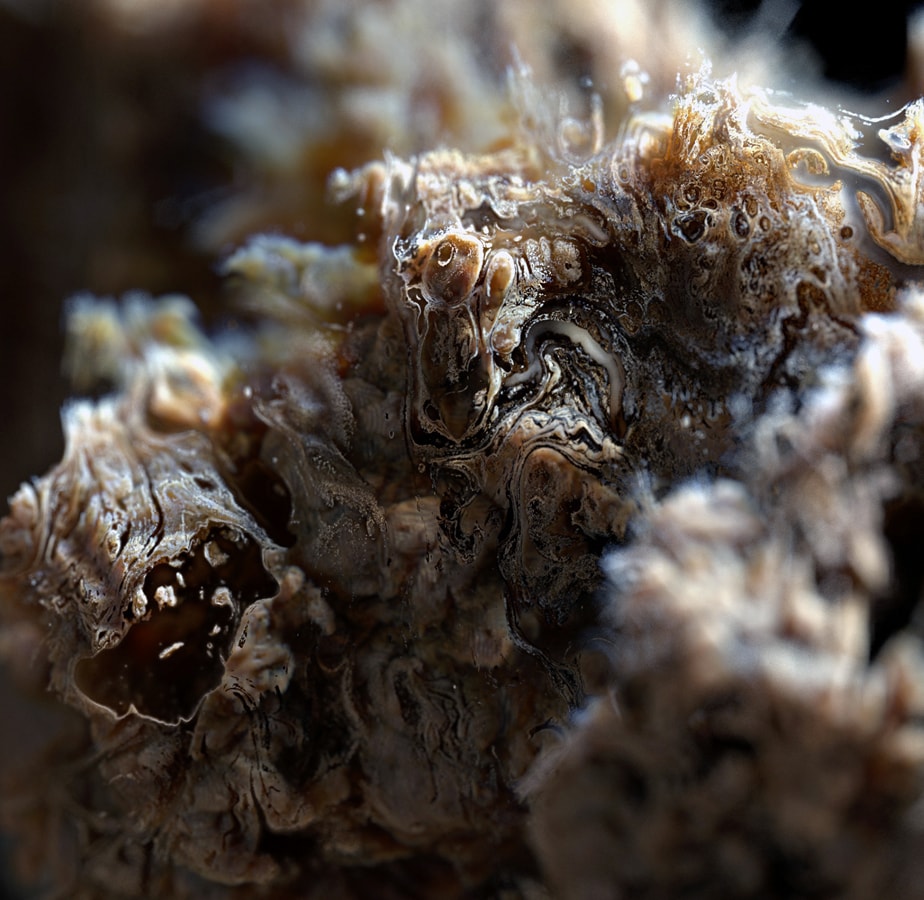
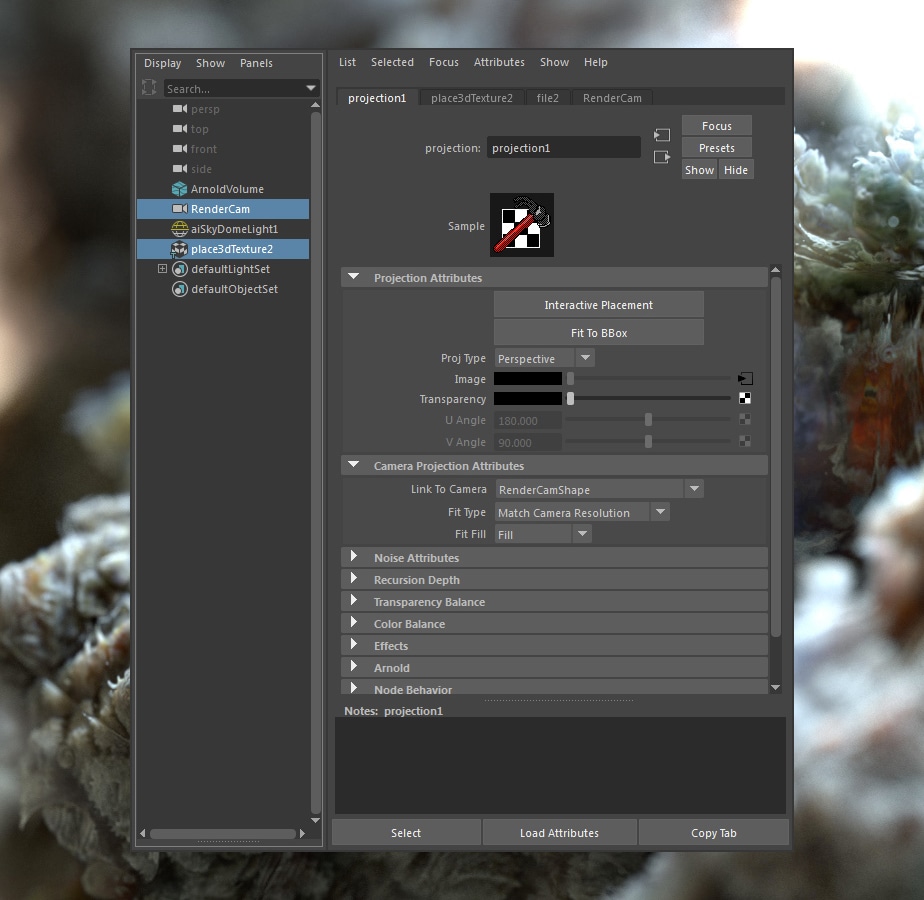
I really wanted to make the texture pop, so I projected an organic-looking texture map through the camera, using a Camera Projection node. I have a library of texture maps that keeps growing, and organic texture sources are some of my favorites as they help break out of traditional CG looks.
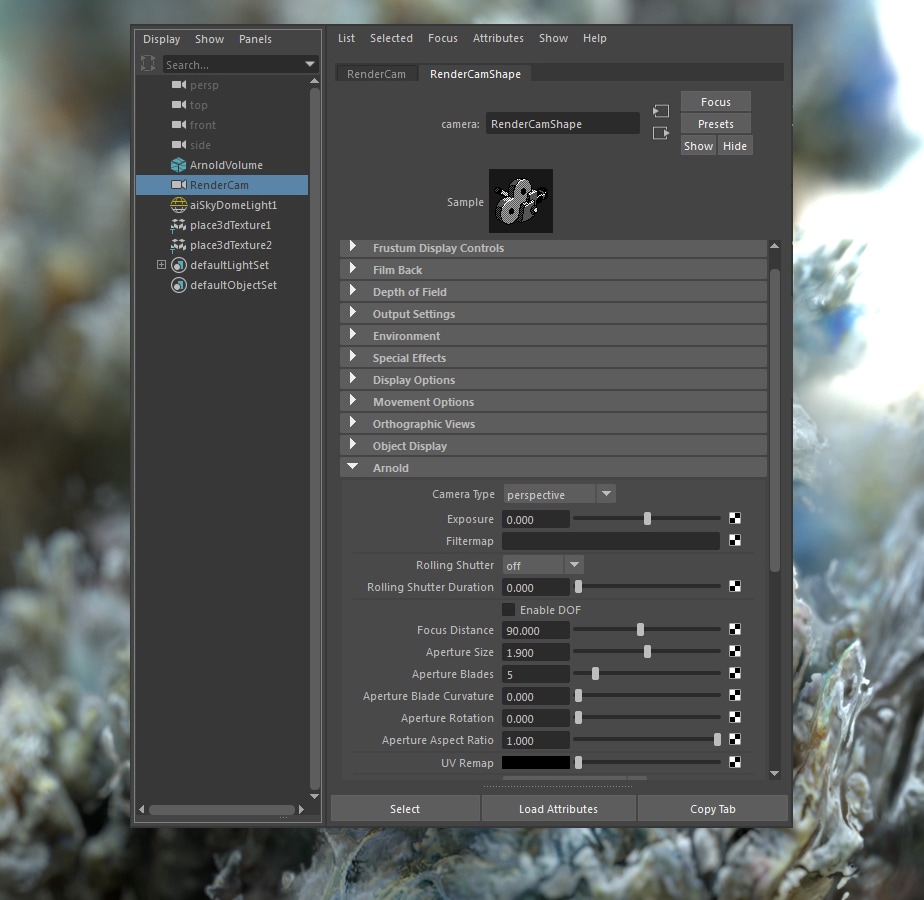
I then added Depth of Field to hide some of the projection effect—which initially looked a bit strange but I kept experimenting until I had something I liked. For me, it’s all about experimentation with different textures and projections. My advice is to try them all.
I wanted the texture to pop, so I projected an organic-looking texture map through the camera, using a Camera Projection node.
I then added Depth of Field to hide some of the projection effect—which initially looked a bit strange. For me, it’s all about experimentation with different textures and projections. My advice is to try them all.
-
Under the hood / Step 03
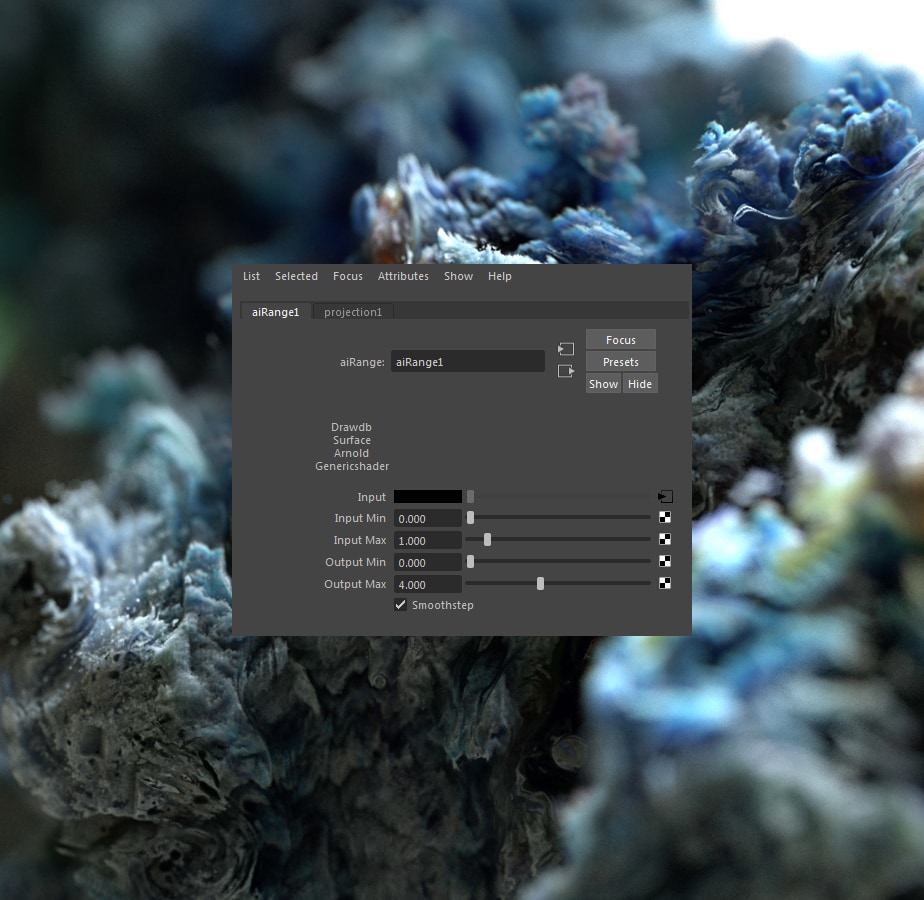
I really like how I was able to get the wispy tendrils to fade off. I used a Range Shader to remap the input values of the original texture to displace the volume shading effect, which added contrast and created the gaps and holes in the volume. The Range Shader can often come in handy for manipulating textures to get different and unexpected results. The final image used an Output Max value of 4. It just gave it more of a solid object feeling—almost like coral.
I really like how the wispy tendrils fade off. I used a Range Shader to remap the input values of the original texture to displace the volume shading effect, which added contrast and created the gaps and holes in the volume. The final image used an Output Max value of 4. It gave it more of a solid object feeling—like coral.
-
Under the hood / Step 04
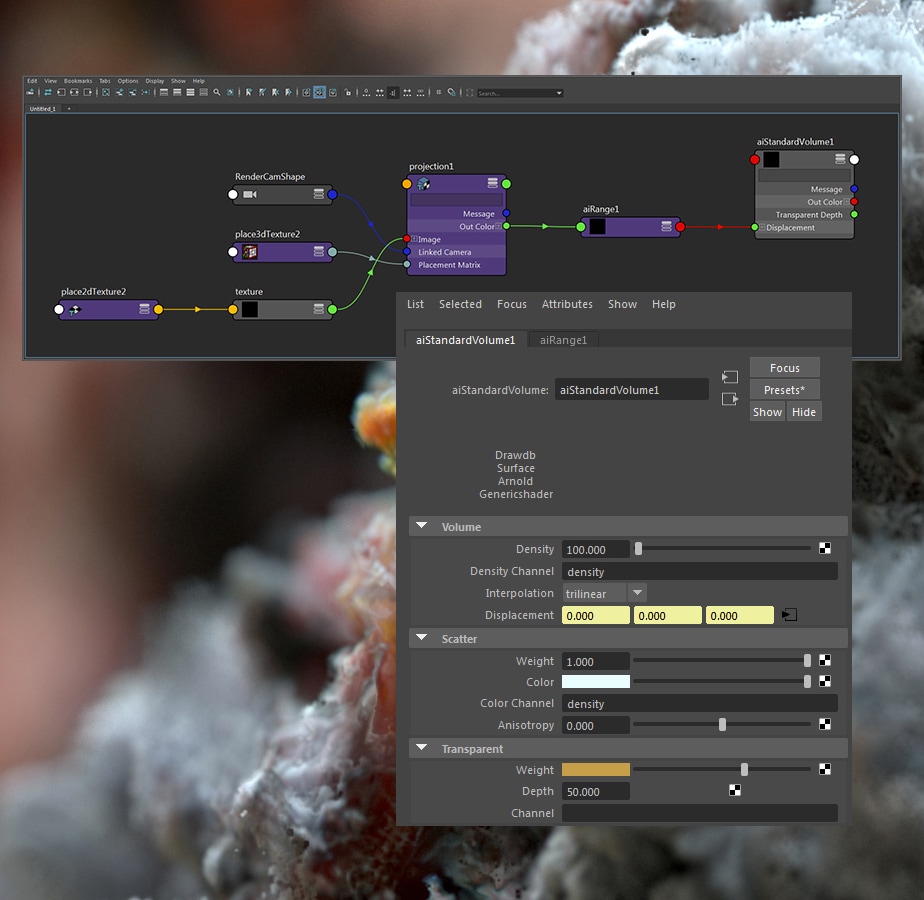
I used the Scatter and Transparent Colors settings in the Standard Volume Shader to control the colors. Scatter is the brightness of the volume under illumination. It’s the ratio of light that is scattered rather than absorbed.
In terms of lighting, I wanted to give the image some backlighting that would show through the edges. I added a single HDRI light source in the background and adjusted the Transparent Color setting to let the light bleed through.
I used the Scatter and Transparent Colors settings in the Standard Volume Shader to control the colors. Scatter is the brightness of the volume under illumination. It’s the ratio of light that is scattered rather than absorbed. To give the image some backlighting that would show through the edges, I added a single HDRI light source in the background and adjusted the Transparent Color setting.
-
Under the hood / Step 05
Volume Ray Depth allows you to configure settings that limit the ray recursion based on ray type and can help you create dramatic differences to a scene or image. Increasing the Volume Ray Depth allowed me to add multiple scattering bounces within the volume. This gave me the desired length, but increased render times. Fortunately, the test rendering in the interactive Arnold RenderView is remarkably fast. Overall, it was worth it, as the volumes look more believable and I could get closer to the final result saved a lot of time downstream during compositing and creative finishing.
Increasing the Volume Ray Depth allowed me to add multiple scattering bounces within the volume. This gave me the desired length, but increased render times. Fortunately, the test rendering in the interactive Arnold RenderView is remarkably fast. Overall, it was worth it, as the volumes look believable and I got closer to the final result, saving a lot of time downstream during compositing and creative finishing.
-
Under the hood / Step 06
I’m a huge fan of experimentation—especially when it comes to what I can do with the Arnold renderer. While I’m most comfortable working in Maya, the Volume Displacement technique can be used in the other Arnold supported applications as well.
To try the Volume Displacement technique in Maya, download my free Volume Shader file.
Join the community
Need help? With in-depth documentation, a responsive development team and a supportive community ready to answer your questions, you’ll be on your way to creating amazing things.
Need help? We have in-depth documentation, a responsive development team, and a supportive community ready to answer your questions.
Get Arnold
Ready to get your hands on the best-looking 3D renderer? Try it for 30 days free.
