Understand the use of Autodesk CAD standards checker
Define DWS
Configure CAD Standards
Check DWG for violations
Batch Standards Checker
Layer Translations
Exercise: Understand the use of Autodesk CAD Standards Checker

Task 1: Define DWS
- Open the practice file Site_1.dwg (or any of your company/client standard DWT and/or DWG files).
- Review Layers, Linetypes (LT), etc. from within the drawing.
- Select the Application icon from the top left, scroll down to Save As, and select Drawing Standards.
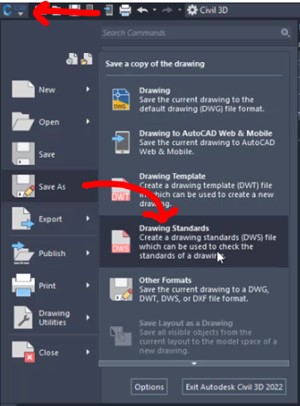
- Save your file as Civil2.dws.
Task 2: Configure CAD Standards
- Open the practice file Site_1.dwg (or any of your company/client standard DWT and/or DWG files).
- Select the Manage tab of the ribbon.
- Scroll over to the CAD Standards panel and select Configure.

- Select the Standards tab of the Configure Standards dialog box.
- Select the green add button and add in the following DWS files:
- Architectural
- Civil
- Structural
- Move Civil to the top and Architectural to the bottom.
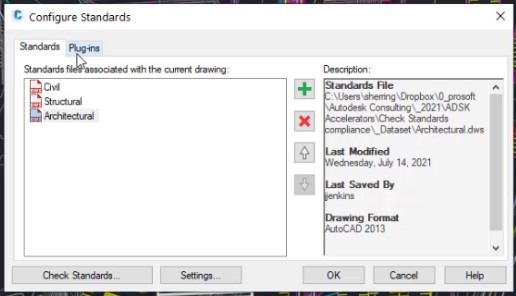
- Switch to the Plug-ins tab and review the data within.
- Select Settings at the bottom of the dialog box and review the data within.
- Click OK to save the configuration to your current file.
Task 3: Check DWG for Violations
- Open the practice file Site_1.dwg (or any of your company/client standard DWT and/or DWG files).
- With a CAD Standards configuration already set up in the previous task, do the following:
- Select the Manage tab of the ribbon.
- Scroll over to the CAD Standards panel and select Check.
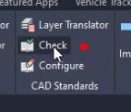
- Review the data within and select Next as it cycles through all non-standard items within the file. Select Next until the Check Complete warning message appears.
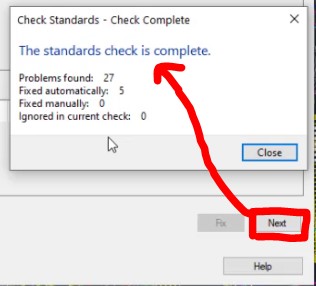
- Select Close and Close the Check Standards dialog box.
Task 4: Batch Standards Checker
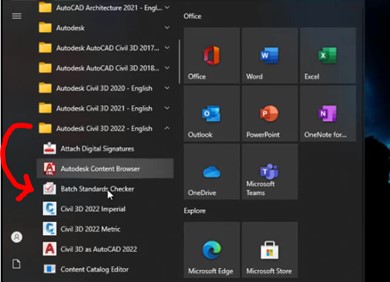
AutoCAD ships with an external Batch Standards Checker that is found in the AutoCAD program group. The Batch Standards Checker does not fix problems like the internal AutoCAD tool does. Instead, it creates an XML-based report of all violations it finds in the defined drawing set.
- Open Batch Standards Checker (External to ACAD)
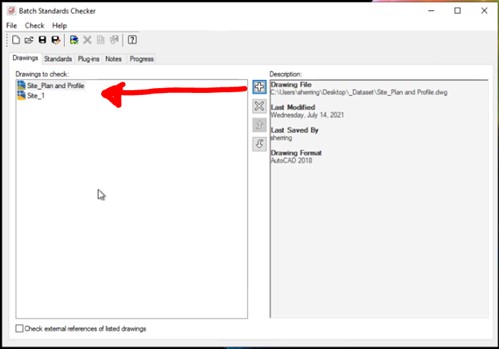
- The Batch Standards Checker contains the following tabs:
- Drawings
- Standards
- Plug-ins
- Notes - Allows you to add notes to the XML report.
- Progress - Provides summary information about the status of the current batch standards audit.
- On the Drawings and Standards tabs, add and order drawing and standards files.
- Select Site_1.dwg and Site_Plan and Profile.dwg from your dataset.
- Click Open.
- Switch to the Standards tab of the Batch Standards Checker.
- Check on Check all drawings using the following standards file.
- Add all the .dws files to check against.
- Save your batch check file out as a .chx file for future use.
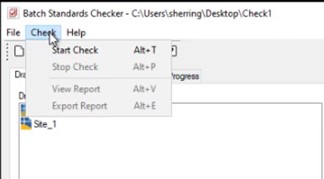
- In the Batch Standards Checker, click Check > Start Check.
- When the batch audit is complete, the report is displayed in a browser window.
Task 5: Layer Translations
If you receive a drawing from a company that does not follow your company's layer standards, you can convert the drawing's layer names and properties to your company's standards.
- Open the practice file Site_1.dwg (or any of your company/client standard DWT and/or DWG files).
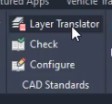
- Click the Manage tab > CAD Standards panel > Layer Translator.
- Click Load to load layers from a drawing, a drawing template, or a drawing standards file. In the Select Drawing File dialog box, select the file(s) and click Open.
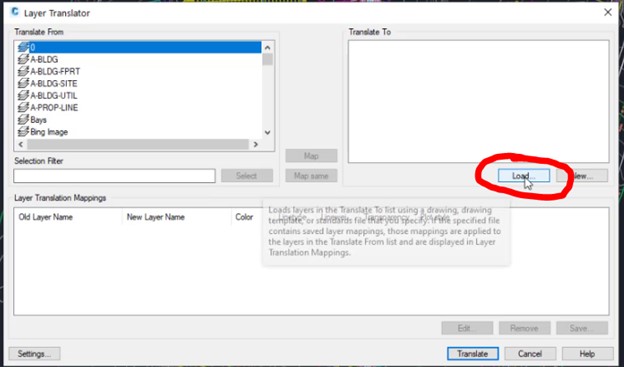
- Click New to define a new layer. In the New Layer dialog box, enter a name for the new layer, select properties as needed, and click OK.
- Select New.
- Type in C-Parking and select OK.
- Select Bays from the layer list on the left and C-Parking from the layer list on the right.
- Click Map.
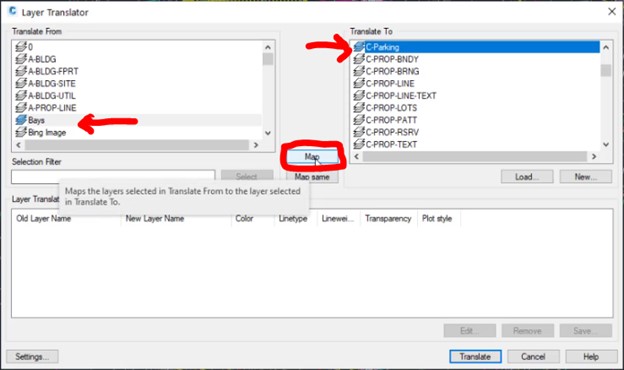
- Select the Drainage Area layer from the left side and map it to C-TOPO-WSHD.
- Click Map same from the dialog box.
- Select Settings from the bottom left. This just shows you what will happen when you translate items. Keep the defaults and select OK.
- Select Translate from the bottom right and select Translate Only.
- You can now view the results of your translation!

